Becoming an Amazon Seller in India offers a fantastic opportunity to connect with millions of potential customers and grow your business online. In 2024, the registration process is straightforward but requires specific documents. First, gather important papers like your GST number, PAN card, bank account details, and proof of your business name and address. Then, visit the Amazon Seller Central website to start the registration. You’ll need to fill out essential information about your business and verify your identity using the provided documents. After setting up your account, you can choose between Fulfilled by Amazon (FBA) or self-shipment for logistics support before listing products for sale.
Why Sell on Amazon India?
Selling on Amazon India opens the door to a vast market with millions of shoppers looking for products every day. It’s a trusted platform where customers feel secure making purchases, which can significantly boost your sales. By selling here, you can benefit from Amazon’s established reputation, making it easier to attract and retain customers. Additionally, Amazon offers logistics support through its Fulfilled by Amazon (FBA) service, which simplifies the shipping process. This means you can focus on growing your business while Amazon handles storage, packaging, and delivery. For instance, if you’re selling handmade crafts, using FBA allows you to reach customers nationwide without worrying about shipping logistics. Overall, selling on Amazon India is not just about reaching more customers; it’s about leveraging a robust ecosystem designed to help sellers thrive.
Required Documents for Registration
Before starting the registration process, ensure you have the following documents ready: 1. GST Number: This is mandatory for selling on Amazon in India, as it is crucial for tax purposes. 2. PAN Card: Required for tax identification. For individuals, a personal PAN can be used, while businesses must provide a business PAN. 3. Bank Account Details: You’ll need your bank account number and IFSC code, as this is how Amazon will deposit your sales earnings. 4. Business Name and Address Proof: You need to provide documents that verify your business name and address. This can include a utility bill, lease agreement, or your Aadhaar card. 5. Email and Phone Number: An active email and phone number are necessary for account verification and communication with customers. Having these documents ready will streamline your registration process.
| Document | Description |
|---|---|
| GST Number | Mandatory for selling on Amazon in India. |
| PAN Card | Required for tax identification. Individuals can use their personal PAN, while businesses need a business PAN. |
| Bank Account Details | To receive payments from your sales; includes account number and IFSC code. |
| Business Name and Address Proof | Documents like a utility bill or Aadhaar card for verification. |
| Email and Phone Number | For account verification and customer communication. |
Step 1: Prepare Your Documents

Before you begin the registration process to become an Amazon Seller in India, it’s essential to gather all the necessary documents. This preparation step will help streamline your registration and prevent any delays. You will need a GST number, which is mandatory for selling on Amazon, along with a PAN card for tax identification. Be sure to have your bank account details ready, including the account number and IFSC code, as Amazon will require these to process payments from your sales. Additionally, you should prepare proof of your business name and address, which could be a utility bill or an Aadhaar card. Lastly, ensure you have a valid email address and phone number for account verification and communication with customers. Having all these documents organized and accessible will make your registration process much smoother.
Step 2: Visit the Amazon Seller Registration Page
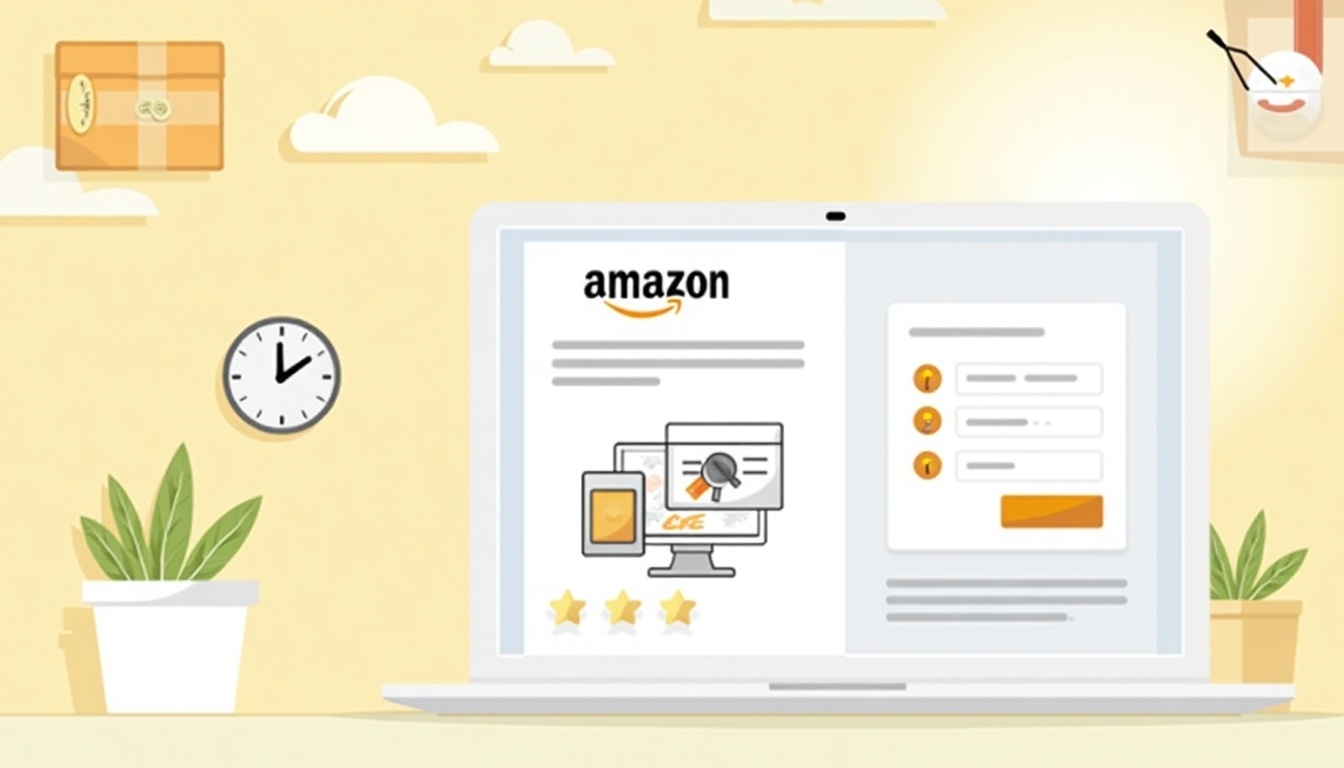
To start the registration process, navigate to the Amazon Seller Central website at Amazon Seller Central. Once there, look for the “Register Now” button prominently displayed on the page. Clicking this button will initiate your registration journey. If you already have an Amazon account, you can log in using your existing credentials. This feature simplifies the process, as you won’t need to create a new account from scratch. By using your current account, you can easily access your seller dashboard once your registration is complete, allowing you to manage your listings and sales efficiently.
Step 3: Enter Your Business Information
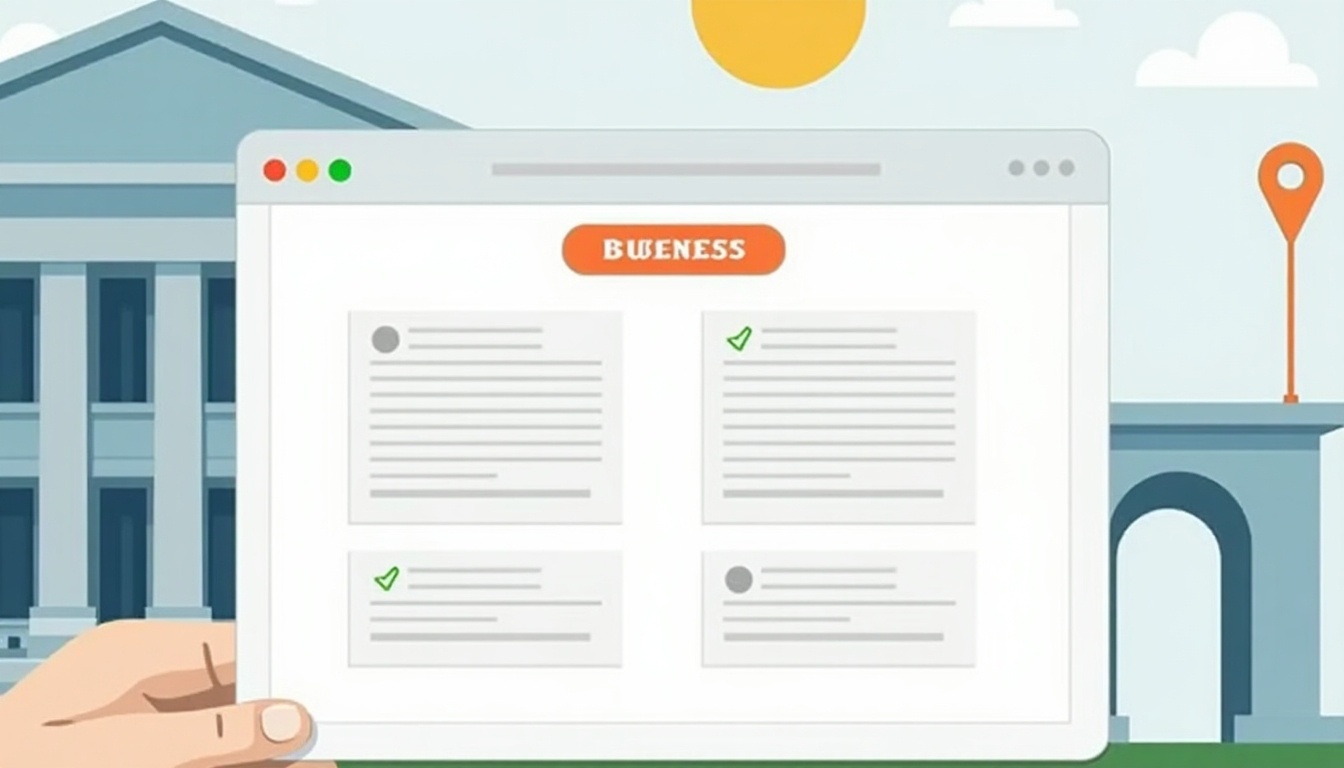
In this step, you will need to provide essential details about your business. First, enter your official business name, which should match the name on your documents. Next, select the type of business you are registering as, either an Individual or a Company. This choice may affect tax obligations and legal responsibilities. Additionally, you will need to input your contact information, including a valid email address and phone number. Make sure this information is accurate, as Amazon will use it for account verification and communication purposes. For example, if you are a sole proprietor selling handmade crafts, you would select ‘Individual’ and enter your name as your official business name. If you run a tech startup, you would choose ‘Company’ and provide your registered business name.
Step 4: Verify Your Identity
Verifying your identity is a crucial step in the registration process for becoming an Amazon Seller in India. During this phase, you will need to provide several key details that ensure your identity is confirmed and that you are eligible to sell on the platform. This includes your Permanent Account Number (PAN), Goods and Services Tax (GST) details, and your bank account information.
Make sure that all information you provide matches the details on your official documents. For instance, if your PAN card shows your name as “John Doe,” your registration details should also reflect that exact name. Any discrepancies can lead to delays or even rejection of your application.
Additionally, Amazon may require you to upload scanned copies of your identification documents. It’s best to have high-quality images ready to ensure clarity. This step helps Amazon maintain a secure marketplace and protects both buyers and sellers from fraudulent activities. Once your identity is verified, you can move forward with setting up your seller account and begin your journey on Amazon.
Step 5: Choose Your Shipping Method
When setting up your Amazon Seller account, selecting the right shipping method is crucial. You have two primary options: Fulfilled by Amazon (FBA) and self-shipping.
If you opt for Fulfilled by Amazon, Amazon takes care of the logistics. This means they handle inventory storage, packaging, and shipping directly to customers. Using FBA can save you time and provide benefits like prime eligibility, which can attract more buyers. You simply send your products to Amazon’s fulfillment centers, and they manage the rest, including customer service and returns.
On the other hand, if you choose self-shipping, you will be responsible for every aspect of the shipping process. This includes packaging your products, selecting carriers, and ensuring timely delivery. While it gives you more control over the shipping experience and potentially lowers costs, it also requires more effort and management.
Consider factors like your product type, volume of sales, and your ability to handle logistics when making this choice. For example, if you sell large or bulky items, self-shipping might lead to higher shipping costs, making FBA a more attractive option. Conversely, if you have a niche product with low sales volume, self-shipping might be more manageable and cost-effective.
Step 6: List Your Products
After your account is set up, you can begin listing your products on Amazon. Start by selecting the option to add a new product in your Seller Central dashboard. You will need to enter essential details such as the product title, which should be clear and descriptive. Include a thorough product description that highlights key features and benefits, making sure to use relevant keywords to enhance search visibility.
Next, set your pricing competitively while considering Amazon’s fees and your profit margin. Don’t forget to include the inventory count to inform buyers of availability. Upload high-quality images of your products, as these can significantly impact a customer’s buying decision. Aim for multiple angles and ensure the images are well-lit and clear.
If applicable, you can also add variations of a product, such as different colors or sizes, under a single listing. This not only organizes your products better but also provides a seamless shopping experience for customers. Once everything is filled out and you’re satisfied with how your listing looks, you can publish it, making your products available to millions of potential buyers.
Step 7: Optimize Your Product Listings
Optimizing your product listings is crucial for standing out in Amazon’s crowded marketplace. Start by conducting keyword research to identify terms your potential customers are searching for. Use these keywords strategically in your product titles, bullet points, and descriptions. For example, if you sell handmade bamboo toothbrushes, include keywords like ‘eco-friendly,’ ‘biodegradable,’ and ‘sustainable’ in your listing.
Next, craft engaging and informative descriptions that highlight the unique features and benefits of your products. Address any potential customer questions directly in your listings to build trust and clarity.
High-quality images are essential; use multiple angles and showcase your product in use when possible. This not only enhances the visual appeal but also helps customers understand the product better.
Consider utilizing A+ Content, which allows you to add enhanced images and text to your product pages, thus providing more detailed information and improving conversion rates. Regularly update your listings based on customer feedback and performance metrics to ensure they remain optimized for search and conversion.
- Use high-quality images that showcase your products
- Write clear and concise product titles with keywords
- Create detailed product descriptions highlighting features and benefits
- Utilize bullet points for key product specifications
- Set competitive pricing that appeals to customers
- Implement Amazon SEO strategies to increase visibility
- Encourage customer reviews for social proof
- Regularly update listings based on market trends and analytics
Step 8: Start Selling and Monitor Your Performance
Once your products are live on Amazon, it’s time to start selling. Use the Seller Central dashboard to keep an eye on your sales, customer feedback, and performance metrics. This dashboard provides insights into how your products are performing, including sales trends, conversion rates, and customer reviews. For example, if you notice a particular product is receiving negative reviews, you can quickly address the issue, whether it’s improving the product quality or updating the product description. Regularly monitor your inventory levels to avoid stockouts or overstock situations, which can impact your sales. Additionally, consider setting up alerts for key performance indicators, so you’re always aware of how your business is doing. Adapting your strategy based on real-time data is crucial for long-term success.
Step 9: Promote Your Products
To drive sales, you need to actively promote your products on Amazon. One effective way is to use Amazon Ads, which include options like Sponsored Products and Sponsored Brands. Sponsored Products allow your listings to appear in search results, increasing visibility. Sponsored Brands, on the other hand, let you showcase your brand logo and multiple products, creating a more impactful presence.
In addition to Amazon’s advertising solutions, consider promoting your products through social media platforms like Facebook, Instagram, and Twitter. Share engaging content, such as product demonstrations or customer testimonials, to attract potential buyers. Utilizing email marketing is another powerful strategy; send newsletters featuring your latest products, special offers, or seasonal discounts to your customer base.
For example, if you sell handmade jewelry, you could run a special promotion during the festive season, advertising discounts through your social media channels and email list. This not only boosts visibility but also encourages customer engagement and loyalty.
Step 10: Utilize Analytics for Growth
Using analytics tools available in Amazon Seller Central is crucial for understanding your business and enhancing your sales strategies. These tools provide insights into customer behavior, allowing you to see which products are performing well and which are not. For example, you can track conversion rates, which indicate how many visitors to your product page made a purchase.
By analyzing customer reviews and feedback, you can identify areas for improvement in your product listings or customer service. Additionally, you can monitor your advertising performance to see which campaigns are yielding the best returns. This data helps you make informed decisions about where to allocate your marketing budget.
Regularly reviewing these analytics will enable you to adapt your strategies in real-time, ensuring that you are meeting customer needs and maximizing your sales potential.
FAQs about Amazon Seller Registration
-
Do I need a GST number to sell on Amazon India? Yes, a GST number is required for all sellers to comply with tax regulations and facilitate smooth transactions.
-
Can I register as an individual seller on Amazon? Yes, individuals can register, but it is advisable to register as a business entity for better tax management and credibility with customers.
-
What is the difference between FBA and self-shipping? FBA (Fulfilled by Amazon) allows Amazon to handle all logistics, including storage and shipping. In self-shipping, the seller takes responsibility for packaging and delivering the product directly to customers.
-
How long does the registration process take? Typically, if all documents are in order, the registration process can take about 2-3 business days.
-
Is there any support for new sellers? Yes, Amazon offers various resources, including tutorials and customer support, to assist new sellers in their journey.
Frequently Asked Questions
1. What documents do I need to register as an Amazon seller in India?
To register as an Amazon seller in India, you typically need a government-issued ID, bank account details, and tax information, such as your GST registration if applicable.
2. Can I sell products from my home as an Amazon seller?
Yes, you can sell products from home on Amazon, but you should ensure that you comply with any local regulations regarding home-based businesses.
3. Do I need a separate business license to sell on Amazon?
It depends on your local laws. Some places may require a business license, while others may not, so check your local regulations.
4. What types of products can I sell on Amazon in India?
You can sell a wide range of products, including electronics, clothing, books, and handmade goods, as long as they comply with Amazon’s guidelines.
5. Is it necessary to have a website to register as an Amazon seller?
No, you do not need to have a separate website to register as an Amazon seller; your Amazon seller account will be sufficient.
TL;DR To register as an Amazon Seller in India in 2024, follow these steps: 1) Gather required documents like GST number, PAN card, bank details, and address proof. 2) Visit the Amazon Seller Central registration page. 3) Enter your business information. 4) Verify your identity. 5) Choose your preferred shipping method (FBA or self-shipping). 6) List your products with titles, descriptions, and images. 7) Optimize listings for visibility. 8) Start selling and monitor performance via the Seller Central dashboard. 9) Promote your products through ads and social media. 10) Utilize analytics for growth. Selling on Amazon offers access to a vast customer base and logistical support.