Creating a website from scratch may appear overwhelming, yet it’s quite doable today. To help you along, follow these five simple steps. First, purchase a domain name (like www.example.com) and a hosting account; this typically costs around £14.99 per year for the domain and as low as £2.75 monthly for hosting providers like Bluehost, which also gives you a free domain for the first year. Next, install WordPress using Bluehost’s automatic option—it’s free and highly flexible. After that, customise your site by selecting themes and adding plugins for enhanced functionality. Then ensure your settings are correctly configured before finally launching your site to the public!
1. Buy a Domain Name and Hosting Account
To create your website, the first step is to secure a domain name and a hosting account. Your domain name is essentially your website’s online address, such as www.yoursite.com, which people will use to find you on the internet. Choosing the right domain is important; it should reflect your brand and be easy to remember. Typically, a domain name costs around £14.99 per year and can be registered through various domain registrars like GoDaddy or Namecheap.
Next, you’ll need a hosting account. This is where all your website’s files are stored, making them accessible on the internet. Hosting plans can vary in price, starting as low as £2.75 per month with providers such as Bluehost or SiteGround. Many hosting services offer promotional prices, and often include a free domain registration for the first year, making it a cost-effective option.
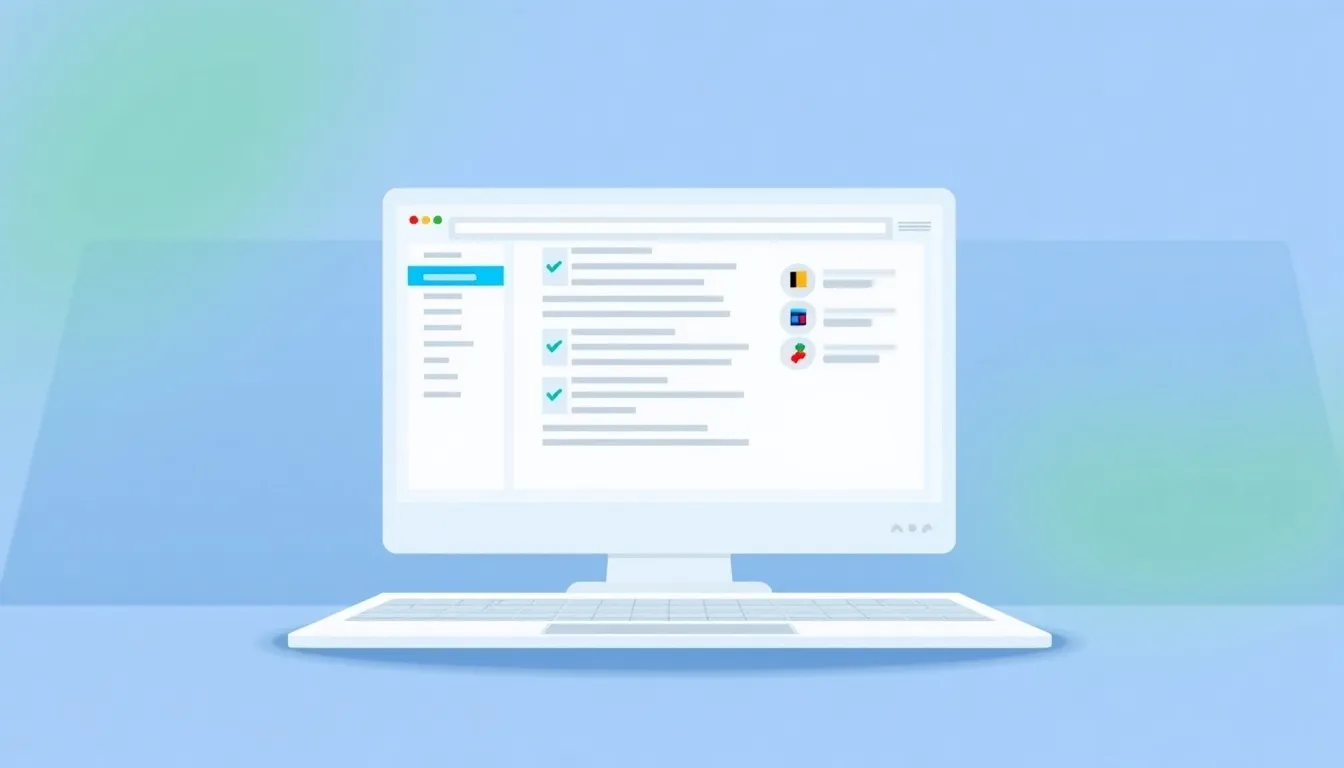
When selecting a hosting provider, consider factors such as:
– Reliability: Look for a host with a high uptime guarantee (ideally 99.9% or above).
– Customer Support: Ensure they offer 24/7 support through various channels (chat, email, phone).
– Scalability: Choose a host that allows you to upgrade your plan as your website grows.
– Ease of Use: A user-friendly control panel can simplify management tasks.
Once you’ve selected your domain name and hosting provider, you can proceed with the registration and setup process. This step is crucial, as it forms the foundation for your entire website.
| Step | Description | Estimated Time | Cost |
|---|---|---|---|
| 1. Buy a Domain Name | Choose a domain name that represents your brand or purpose. | 15-30 minutes | £10-£20 per year |
| 2. Choose a Hosting Provider | Select a reliable hosting service that suits your needs. | 30 minutes | £3-£10 per month |
| 3. Register Your Domain | Register your chosen domain through your hosting provider or a registrar. | 15 minutes | Included with hosting |
| 4. Set Up DNS | Point your domain to your hosting account for website accessibility. | 15 minutes | Free |
| 5. Verify Hosting Setup | Ensure your hosting and domain registration are correctly configured. | 10 minutes | Free |
2. Install WordPress
Installing WordPress is a straightforward process that empowers you to build and manage your website easily. As one of the most widely used content management systems globally, WordPress offers countless features and flexibility for users of all levels.
To begin, if you chose Bluehost for your hosting, the installation of WordPress is typically handled automatically during the sign-up process. Here’s how to do it:
- Automatic Installation: After signing up, you’ll be prompted to choose a theme and set your site’s name and tagline. Bluehost takes care of the WordPress installation for you, saving you time and effort.
- Manual Installation: If your host doesn’t offer automatic installation, you can manually download WordPress from wordpress.org. Unzip the downloaded file, upload it to your web server using FTP, and run the installation script by visiting your domain.
Once WordPress is installed, you can access your site’s dashboard by going to yourdomain.com/wp-admin. This dashboard is your control centre, where you can manage all aspects of your website.
With WordPress set up, you can begin customising your site to reflect your brand. The intuitive interface makes it simple to navigate through various options, from themes and plugins to posts and pages. In essence, installing WordPress is the first step towards creating a dynamic online presence.
3. Customize Your Website

Once WordPress is installed, it’s time to personalise your site to suit your needs and preferences. Start by choosing a theme that reflects your brand or the purpose of your website. To do this, navigate to Appearance > Themes in your dashboard. Here, you can easily preview and install free themes directly from the WordPress repository, giving your site a unique look and feel.
Next, consider enhancing your site’s functionality by installing plugins. Plugins are like applications for your website that can add features such as contact forms, SEO optimisation, and social media integration. To add plugins, go to Plugins > Add New and search for those that meet your needs. For example, if you want to improve your website’s visibility on search engines, you might install an SEO plugin like Yoast SEO.
Customisation also includes setting up your menus and widgets. Menus help visitors navigate your site while widgets can display additional content in your sidebar or footer. You can manage these by going to Appearance > Menus and Appearance > Widgets respectively.
Lastly, don’t forget to add your branding elements, such as your logo and colour scheme, to ensure consistency across your site. This will help establish your brand identity and make your website more professional.
4. Configure Your Website Settings
Configuring your WordPress settings is vital for ensuring that your site operates smoothly and reaches its intended audience effectively. Here are some key settings you should consider:
- Set Permalinks: Go to
Settings > Permalinks. Opt for the post name option to create SEO-friendly URLs that make it easier for search engines and visitors to understand your content. - Set the Homepage: Decide whether your homepage will showcase your latest posts or a static page. This can be adjusted under
Settings > Reading, allowing you to create a more tailored user experience. - Manage Comments: Control the commenting feature on your site by navigating to
Settings > Discussion. You can choose to allow comments, require approval, or even disable them entirely, depending on your website’s purpose.
Additionally, consider these settings:
– Timezone: Set your timezone under Settings > General to ensure that your posts and comments are time-stamped accurately.
– Site Title and Tagline: Revisit Settings > General to confirm that your site title and tagline accurately reflect your brand.
– Privacy Settings: Review your privacy settings under Settings > Privacy to ensure compliance with regulations and to manage how user data is handled.
By configuring these settings, you not only enhance the functionality of your website but also improve its visibility and user interaction.
5. Launch Your Website
Before you make your website live, it’s essential to ensure that everything is functioning correctly. Start by thoroughly testing your site: check all links to make sure they direct to the right pages, verify that forms are working, and confirm that any interactive features perform as expected.
Once you’re satisfied that everything is in order, it’s time to optimise for search engines. You can use plugins like All in One SEO to help with this. These tools guide you in making your site more visible to search engines, enhancing your chances of attracting visitors.
After optimisation, you’re ready to go live. If you’ve used a coming soon plugin during development, remember to disable it to let your audience access your site.
Lastly, keep in mind that launching is just the beginning. Regularly update your content, monitor your site’s performance, and engage with your audience to keep your website thriving.
6. Additional Tips for Website Success
To ensure your website thrives in the competitive online landscape, consider the following tips:
- Regularly Update Content: Fresh, relevant content keeps your audience engaged and improves SEO. Aim for a mix of blog posts, articles, and multimedia content.
- Engage with Your Audience: Respond to comments and messages promptly. Building a community around your site can foster loyalty.
- Utilise Social Media: Share your content across platforms like Facebook, Twitter, and Instagram to attract visitors. Tailor your posts for each platform to maximise engagement.
- SEO Best Practices: Beyond using plugins, research keywords relevant to your niche. Incorporate these naturally into your content to enhance visibility.
- Mobile Optimisation: Ensure your website is responsive and looks good on mobile devices. More users are browsing on their phones, and Google prioritises mobile-friendly sites.
- Back Up Your Site: Regular backups protect your data. Use plugins or your hosting provider’s services to schedule backups automatically.
By implementing these strategies, you’ll not only attract visitors but also retain them, leading to a successful online presence.
Frequently Asked Questions
1. What are the first steps to create a website from scratch?
To start building a website, you need to choose a domain name, get web hosting, and decide on a website builder or content management system (CMS) like WordPress.
2. How do I choose the right domain name for my website?
Pick a domain name that is short, memorable, easy to spell, and relates to your content or business. Make sure it’s unique and check if it’s available.
3. What platform should I use to build my website?
There are various platforms available, such as WordPress, Wix, and Squarespace. Choose one that suits your technical skills and the type of website you want to create.
4. How can I make my website look good?
To enhance the appearance of your website, use a clean layout, high-quality images, and a consistent colour scheme. Also, ensure it’s mobile-friendly and easy to navigate.
5. What content should I include on my website?
Your website should have clear information about your services or products, an ‘About’ page, contact details, and any relevant blog posts or articles to engage visitors.
TL;DR Creating a website from scratch is straightforward with these five steps: 1) Purchase a domain name and hosting; 2) Install WordPress, which is user-friendly and flexible; 3) Customise your site with themes and plugins; 4) Configure settings for better functionality and visibility; 5) Launch your site by testing it and optimising for SEO. Remember to continually update content and promote your site for ongoing success.